After writing part 4, I realised that I need to get some of this blog’s scripts into source control. Furthermore, it only makes sense that I store them in an online repository to share the scripts publicly.
If you aren’t familiar with source control, there are plenty of explanations online, and my favourite is part of the Hg Init Mercurial tutorial. In fact the first image on that page pretty much sums everything up; “Script – Copy.ps1”, “Script – Copy (1).ps1”, “Script – Copy Testing Foobar Change.ps1” gets messy and unworkable really fast when working on scripts or code. However keep in mind that source control tools aren’t just useful for source code; they’re good for managing changes to any type of text files (and even binary files in a more limited fashion). Some use them with Jekyll to have revision history for their websites, some use them with LaTeX for professional documents. Personally I love to use them for router and firewall backups, a practice I began after a Virgin Business SuperHub randomly reset to the factory default configuration…twice.
In this case I will be using TortoiseHg (GUI for Mercurial) as my source control tool, Bitbucket as my online repository. While TortoiseGit and GitHub may seem the obvious choice to some, there are a couple of reasons why I’m going to use Bitbucket:
- I prefer to use Mercurial / TortoiseHg over to Git / TortoiseGit. I believe many Windows admins will also feel the same if they tried both.
I’m not going to go into great detail over Mercurial vs Git, there is plenty good discussion elsewhere on the Internet. For me personally, years ago when I was first getting into PowerShell, I read one blog that recommend Mercurial as the best source control for PowerShell. I gave it a shot and I liked it. I’ve since tried Git and GitHub, and I’ll more than happily use them for an existing repo or when I’m part of a team that prefers Git, but personally I always lean towards Mercurial. - There’s plenty of content online on how to use Git / TortoiseGit / GitHub, and not quite as much Mercurial / TortoiseHg / Bitbucket.
Is this because Mercurial and Bitbucket are less popular? Or is it because Mercurial is a lot more straightforward? I’m unsure.
So, let’s get started:
- Download and install TortoiseHg. The default installer settings are perfectly fine.
- In the folder you want to make your local repo, right click a blank space and choose Create Repository Here from the TortoiseHg sub-menu. Then choose Create. This creates the hidden files in this folder that contain the history and metadata for your repo.


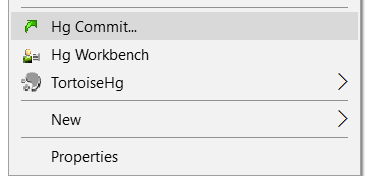
- Back in Explorer, choose Hg Commit… from the menu. Here is where you commit any changes you have made since the last commit, along with a message explaining the changes. Select any untracked files (pink with a question mark) and choose Commit.

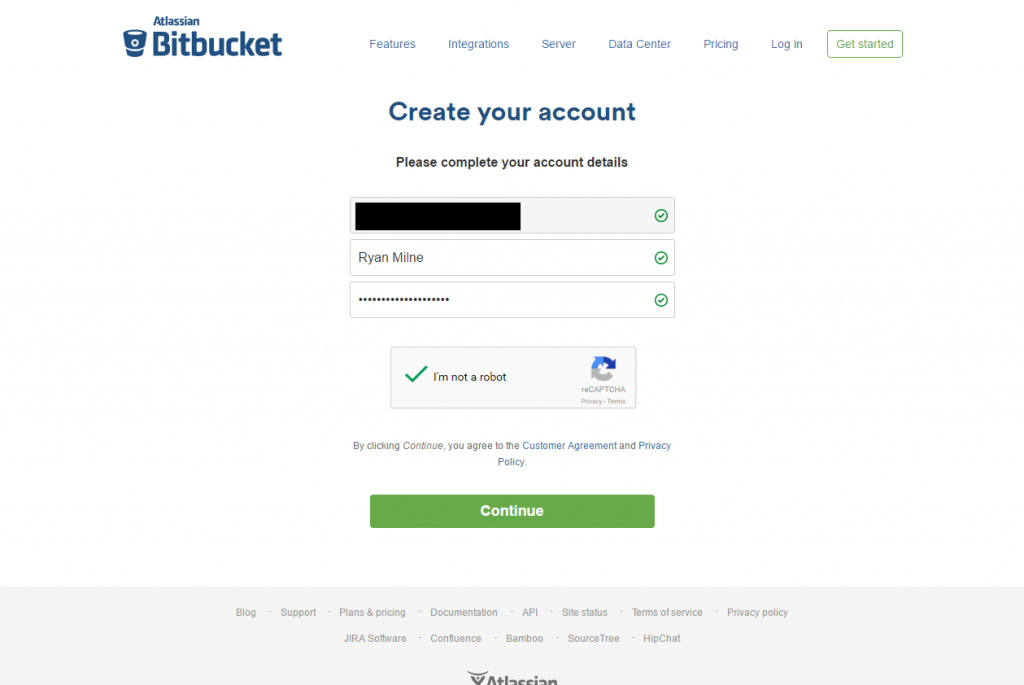
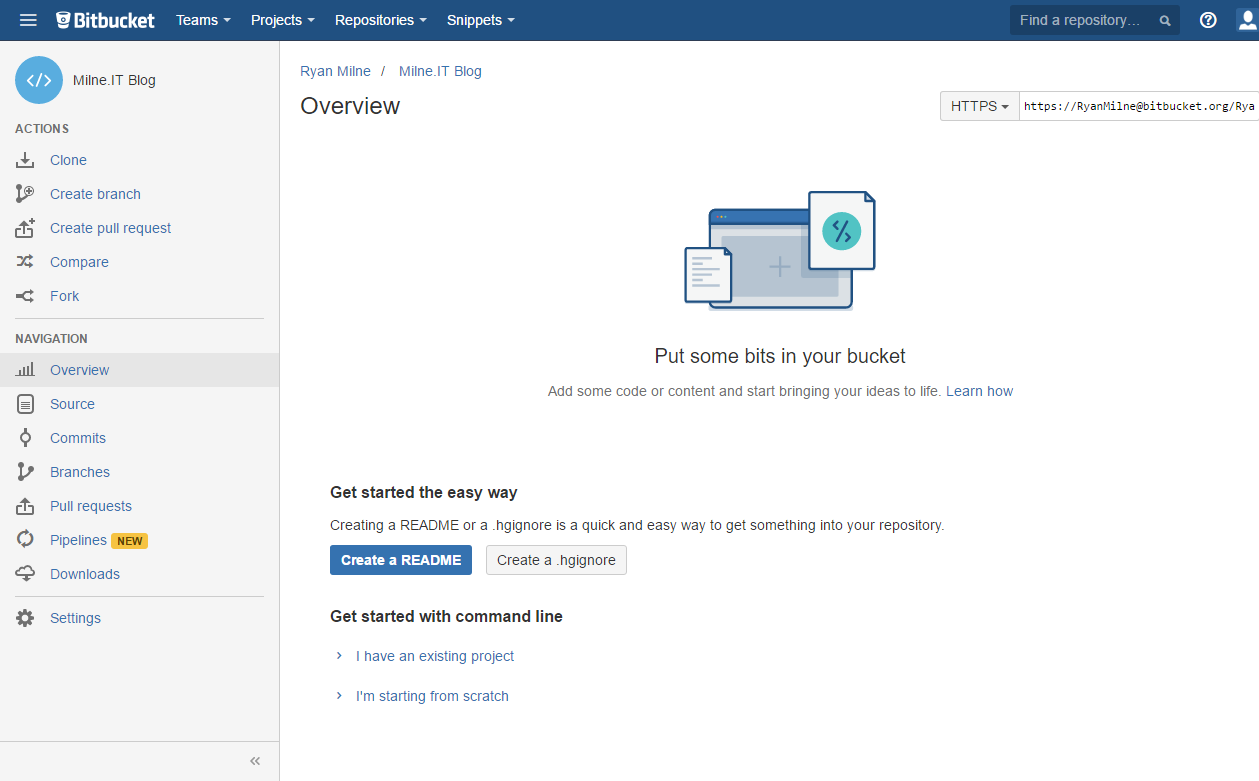
If this was your first ever commit with TortoiseHg, you will probably receive a prompt to identify yourself. The global settings window will appear, where in the Commit section you can enter your name or username, as you want it stored with your commits. - We’ve created the local repository; it’s time to now set it up on Bitbucket. Head over to https://bitbucket.org/ and choose to create an account. It’s straightforward – email, username, password, email verification; the usual.

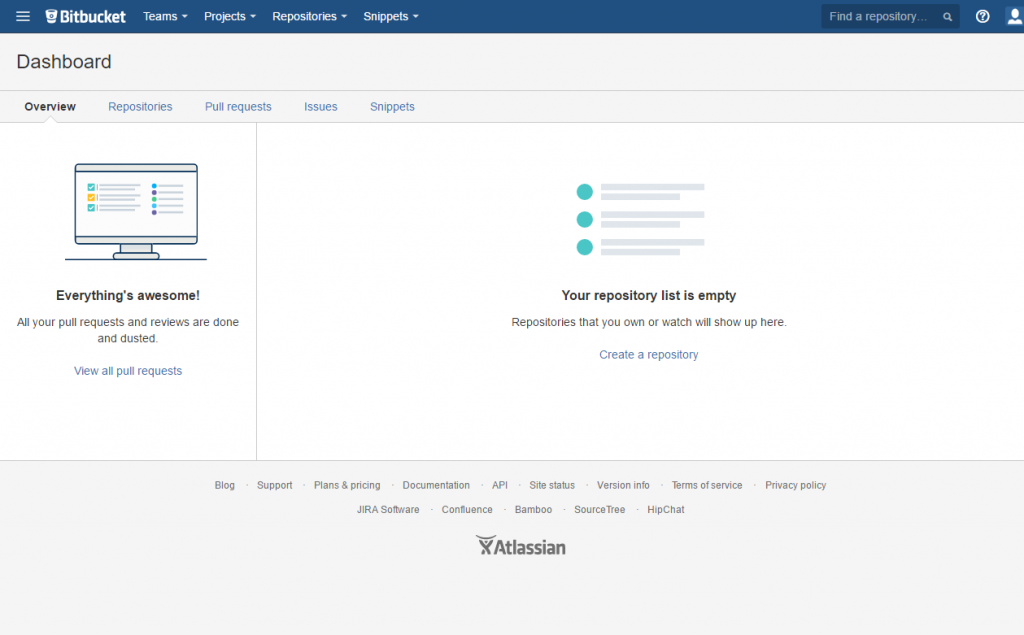
- Choose to Create a new repository. Give it a name (which will determine its URL by the way), optionally make it private, and choose Mercurial. Once you’re in the repository Overview, see that HTTPS link at the top right? Copy that to your clipboard.
- Back in Explorer, choose Synchronize from the TortoiseHg sub-menu. Paste the URL into the window as below, and hit the Save icon. Enter default as the alias and hit save. (If you enter an alias other than default, you may be prompted to choose the destination server whenever you try to push).
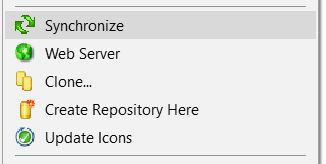


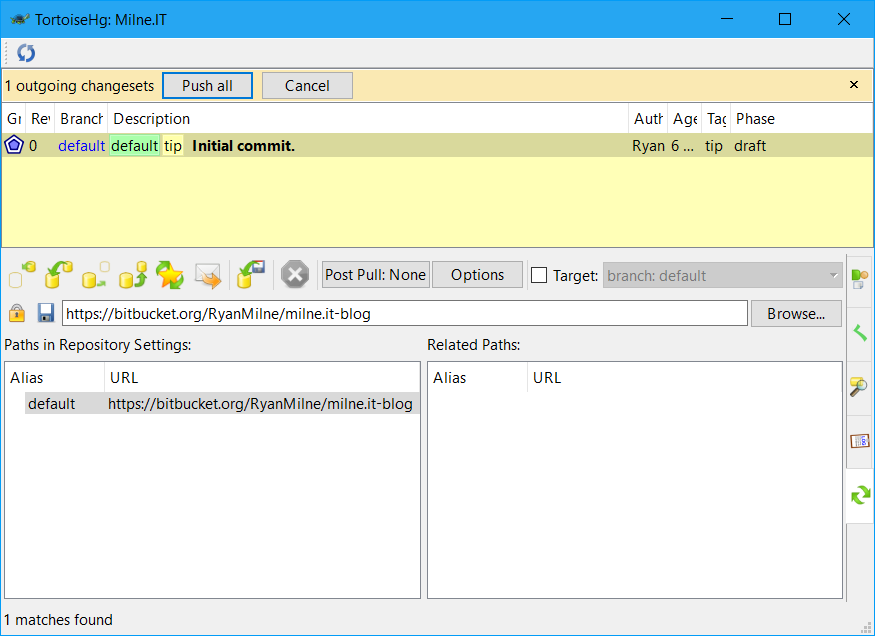
- Notice the icons in the Synchronize window below.

From left to right, they are:- Check for incoming changes
- Pull incoming changes
- Detect outgoing changes
- Push outgoing changes
We want to send our changes to our Bitbucket repo. We can either push them, or we can choose to detect changes first and then choose to push them like in the screenshot below. If this is a public repo, you will be prompted for your Bitbucket username and password on each Push. If it’s a private repo you will likely be prompted on all operations.
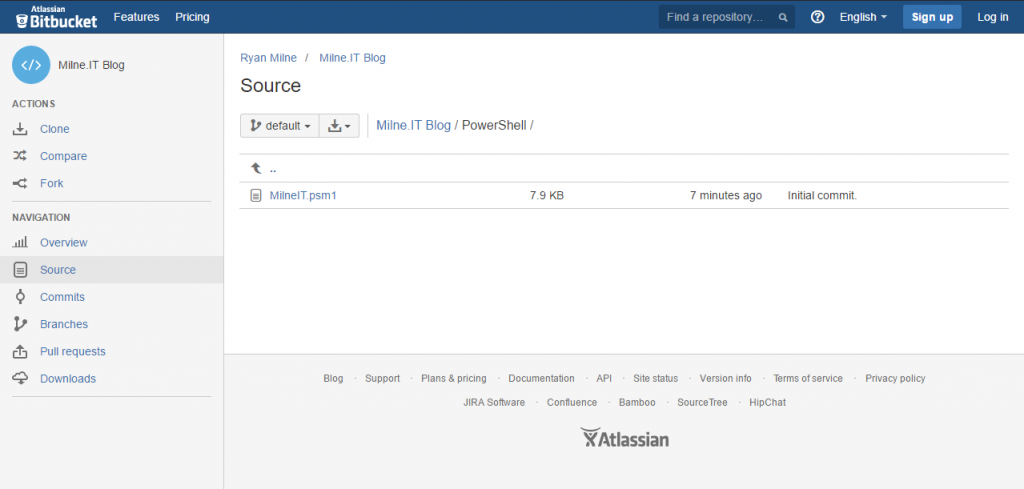
- If you refresh your Bitbucket repo, you can now see that files have been committed.


And that’s it. From now on, make the desired changes to your script (/ configuration file / etc.), Hg Commit… to commit those changes locally, and Push to push those changes to Bitbucket. With source control you now have the power of undo (among many other features). You can revert your uncommitted changes with Revert, or go back to any previous commit with Update.
Related Posts
 All-in-one Get-User cmdlet: Part 7 – Skype for Business Online
- All-in-one Connect-365 cmdlet: Part 1 – MSOnline, Exchange Online, Skype for Business Online
- All-in-one Get-User cmdlet: Part 6 – Formatting & Mailbox Statistics
- All-in-one Get-User cmdlet: Part 5 – Handling Edge Cases
- All-in-one Get-User cmdlet: Part 4 – Basic Function Put Together
- All-in-one Get-User cmdlet: Part 3 – Error Handling Get-Mailbox